Categories

Sponsors

Archive
 Blogroll 
Badges

Community

|

Citrix Netscaler VPX installation on Hyper-V R2
Posted in Virtual Machine Manager | No Comment | 8,450 views | 01/12/2011 00:12
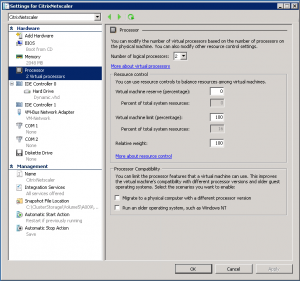
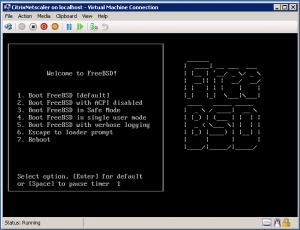
I want to show you how to install Citrix Netscaler VPX on Hyper-V step by step. Step 1: Create a VM on Hyper-V with synthetic network card and 2 vCPU. Step 2: Download VHD type of Netscaler image from Citrix, mount it to VM and start.
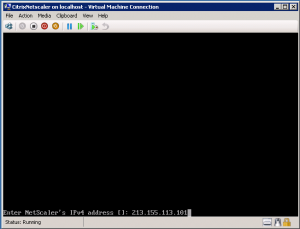
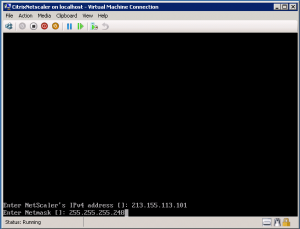
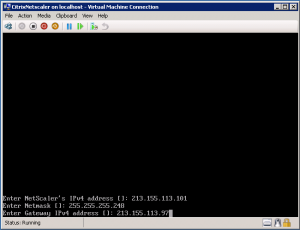
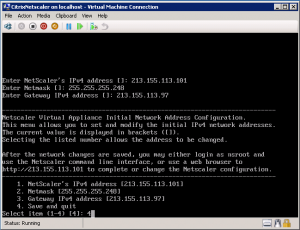
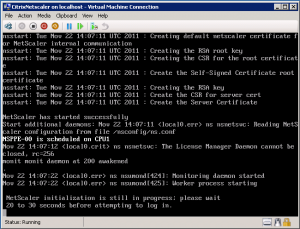
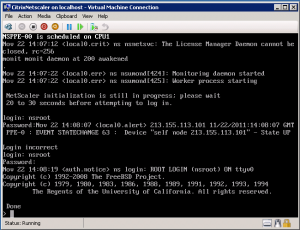
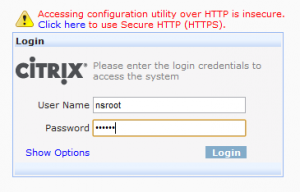
Step 3: Enter ip address for your Netscaler. Step 4: Enter netmask. Step 5: Enter default gateway. Step 6: Type “4” to save your inputs. Step 7: Netscaler should start initializing. Step 8: If you see “Done” message, you can go to web interface. Step 9: You can login with following credentials: Username: nsroot
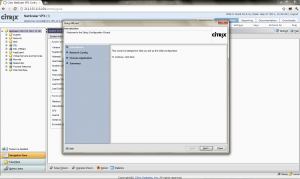
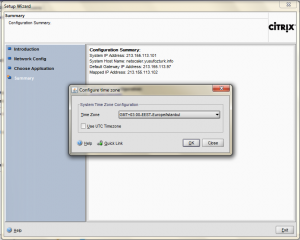
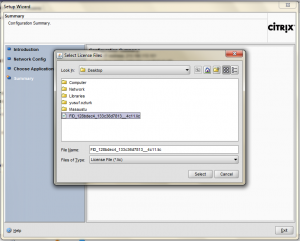
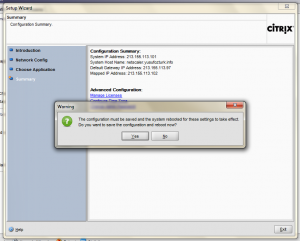
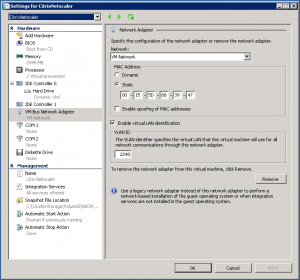
Password: nsroot Step 10: You will see Setup Wizard after your login. Step 11: Choose your region. Step 12: Select your license file. You should get it from Citrix. Step 13: You need to reboot Netscaler to save changes. Step 14: Don’t forget to set MAC address as static. If it changes, you need to regenerate license file. Netscaler uses FreeBSD but it comes with its own Hyper-V integration service. That’s why you can use synthetic network adapter and shutdown from Hyper-V. I hope we will see FreeBSD integration services soon. 
Leave a Reply
|


