Categories

Sponsors

Archive
 Blogroll 
Badges


Community

|
Posted in Virtual Machine Manager | 3 Comments | 7,653 views | 24/05/2011 01:24
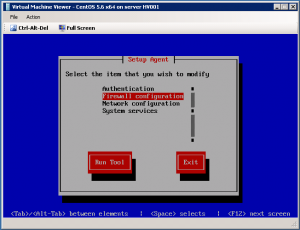
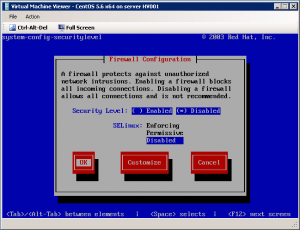
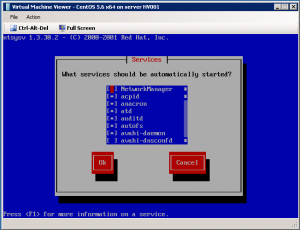
Step 30: After first reboot, you’ll see this screan. Step 31: Select “Firewall configuration” and disable it. Step 32: Select “Services configuration”: Step 33: Leave enable only these services for minimal installation:
acpid
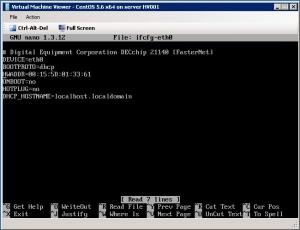
auditd crond haldaemon irqbalance kudzu lvm2-monitor mdmonitor messagebus microcode_ctl netfs network sshd syslog Step 34: Reboot your virtual machine. Step 35: Login your VM and execute:
Step 36: Remove HWADDR line to prevent ethernet issues. Step 37: Copy ethernet configuration.
Step 38: Execute Set-LinuxVM to give internet access to VM. So we can do latest updates.
Step 39: Execute the command below to update your VM.
Step 40: Clear ethernet configuration.
Step 41: Clean bash history with the command below.
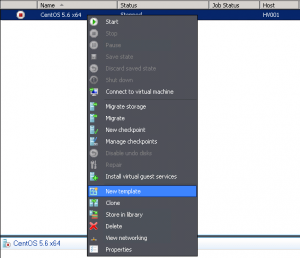
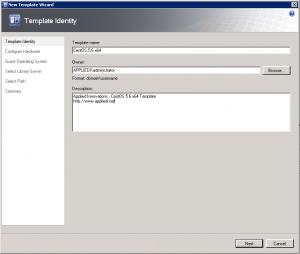
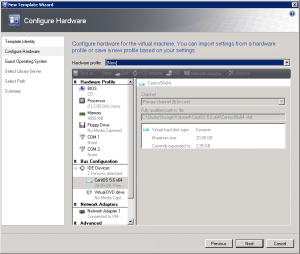
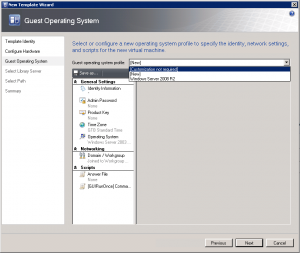
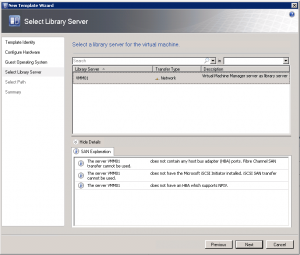
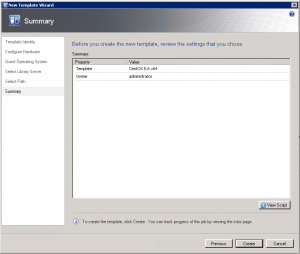
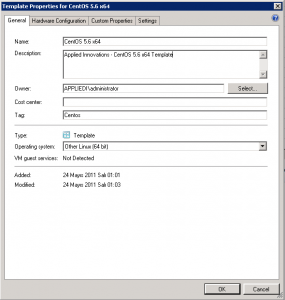
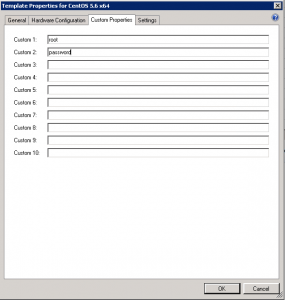
Step 42: Turn off your Virtual Machine. Step 43: Right click on Virtual Machine and click “New template”. Step 44: Put template information. Step 45: Leave hardware properties as default. Step 46: Most important! Choose “[Customization not required]” to provision Linux VMs. Step 47: Choose your library server, then choose a share path. Step 48: Click “Create” button to start creation process. Step 49: Go to template properties. Type distro name to the “Tag” field. Step 50: Go to “Custom Properties” tab. Type username into first field, type password into second field. So with these changes, Set-LinuxVM looks for distro, username and password information from template. If you create a Linux VM from this template, use Set-LinuxVM like below:
You should use Set-LinuxVM version 2.3 or newer to use template functionality. |


