Categories

Sponsors

Archive
 Blogroll 
Badges


Community

|
Posted in Virtual Machine Manager | 3 Comments | 7,653 views | 24/05/2011 01:24
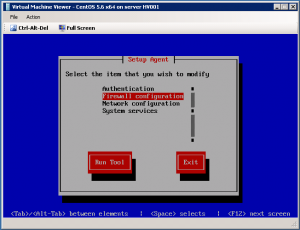
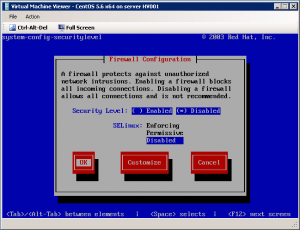
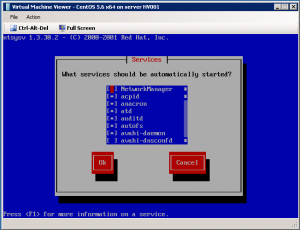
Step 30: After first reboot, you’ll see this screan. Step 31: Select “Firewall configuration” and disable it. Step 32: Select “Services configuration”: Step 33: Leave enable only these services for minimal installation:
acpid
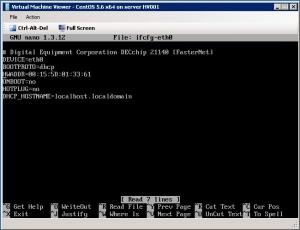
auditd crond haldaemon irqbalance kudzu lvm2-monitor mdmonitor messagebus microcode_ctl netfs network sshd syslog Step 34: Reboot your virtual machine. Step 35: Login your VM and execute:
Step 36: Remove HWADDR line to prevent ethernet issues. Step 37: Copy ethernet configuration.
Step 38: Execute Set-LinuxVM to give internet access to VM. So we can do latest updates.
Step 39: Execute the command below to update your VM.
Step 40: Clear ethernet configuration.
Step 41: Clean bash history with the command below.
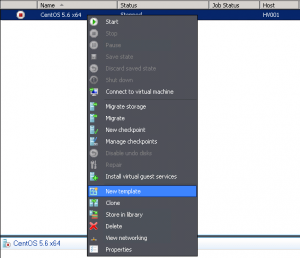
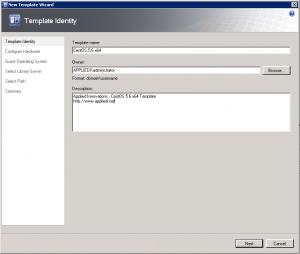
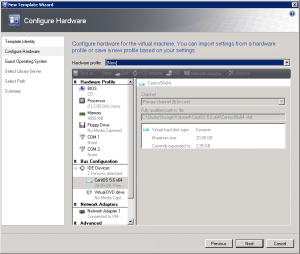
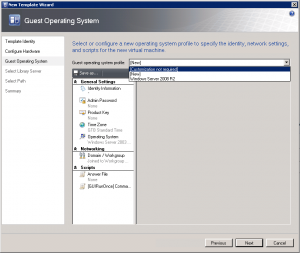
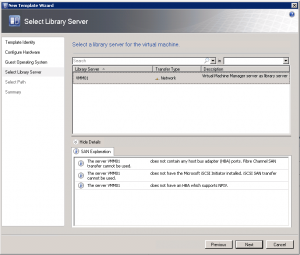
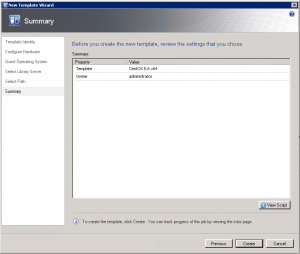
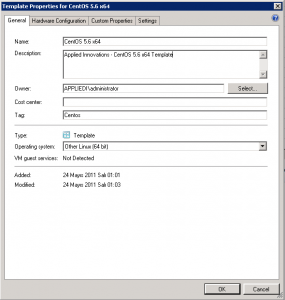
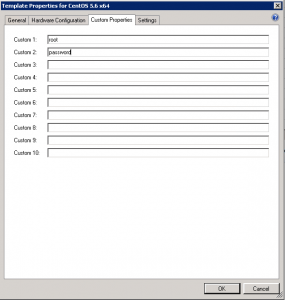
Step 42: Turn off your Virtual Machine. Step 43: Right click on Virtual Machine and click “New template”. Step 44: Put template information. Step 45: Leave hardware properties as default. Step 46: Most important! Choose “[Customization not required]” to provision Linux VMs. Step 47: Choose your library server, then choose a share path. Step 48: Click “Create” button to start creation process. Step 49: Go to template properties. Type distro name to the “Tag” field. Step 50: Go to “Custom Properties” tab. Type username into first field, type password into second field. So with these changes, Set-LinuxVM looks for distro, username and password information from template. If you create a Linux VM from this template, use Set-LinuxVM like below:
You should use Set-LinuxVM version 2.3 or newer to use template functionality.
Posted in Virtual Machine Manager | 1 Comment | 4,975 views | 24/05/2011 00:54
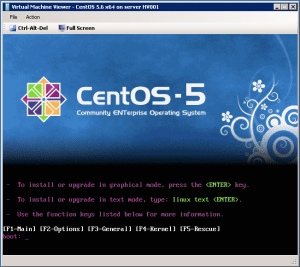
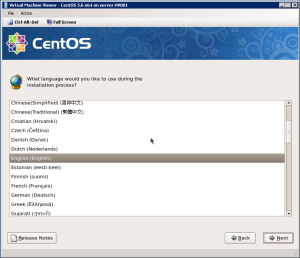
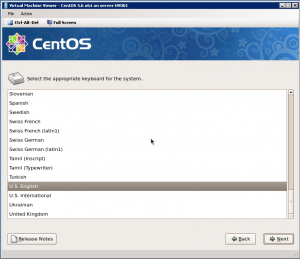
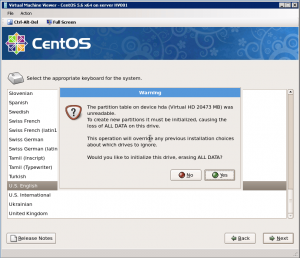
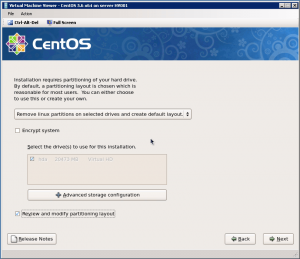
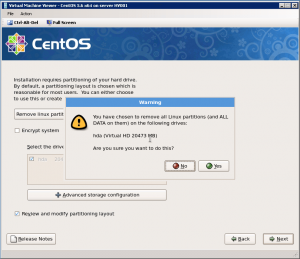
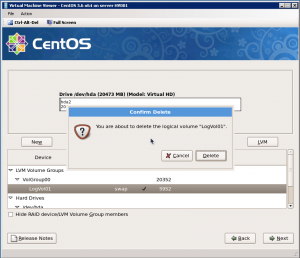
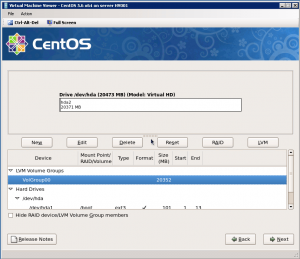
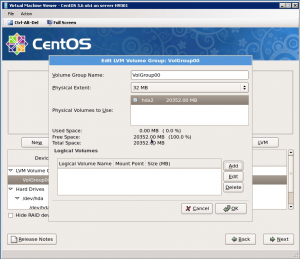
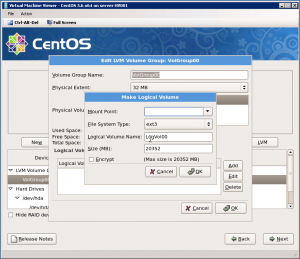
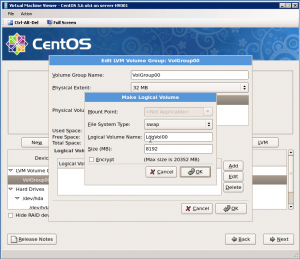
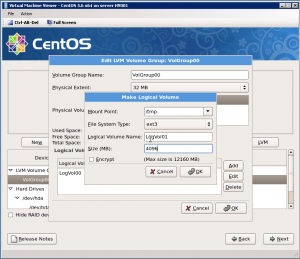
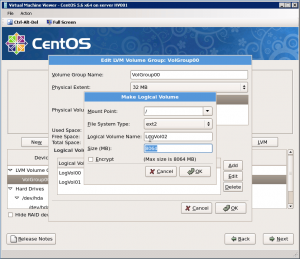
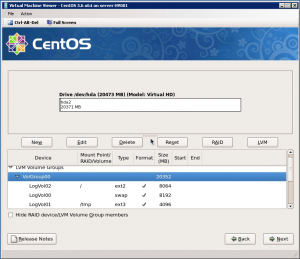
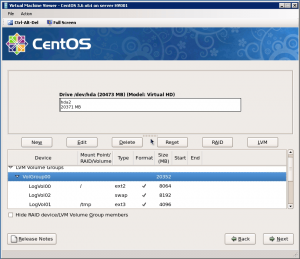
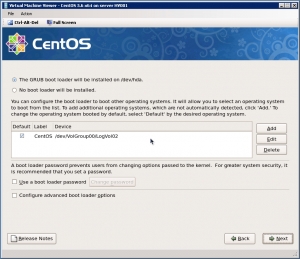
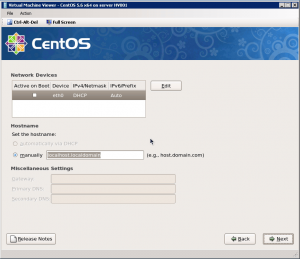
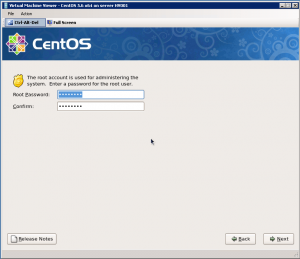
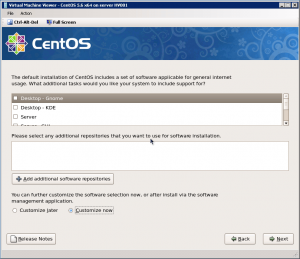
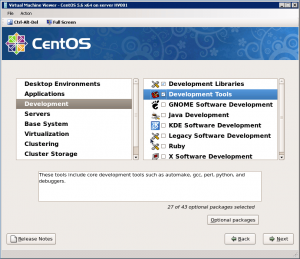
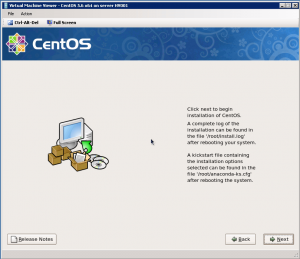
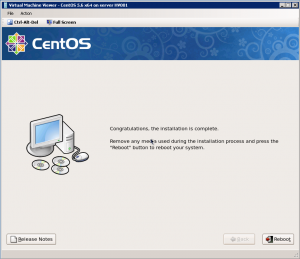
Step 9: Press Enter to start CentOS 5.6 x64 installation. Step 10: Skip CD checking and choose a language. Step 11: Choose keyboard and click “Next”. Step 12: You will see a warning about initializing disk drive. Click “Yes” and continue: Step 13: Click “Review and modify partitioning layout” and click “Next”. Step 14: Click “Yes” for warning to continue: Step 15: Delete pre-defined volumes by clicking “Delete” button. Step 16: After you clear volumes, go to LVM and click “Edit” button. Step 17: Click “Add” button to create new partitions in LVM. Step 18: Create mount points and sizes as you want. Step 19: As an example, I create a Swap partition as 8192 MB. Because swap should be twice of your memory. Step 20: Create /tmp mount point as 4096 MB. Step 21: Use all available space for / mount point. In this case I have only 8064 MB disk space. Step 22: So final partitioning layout should be: Update: You should first create / mount point. Otherwise you can’t extend LVM with Set-LinuxVM. Step 23: Next page, choose “GRUB boot loader” and click “Next”. Step 24: Leave all default but clear “Active on Boot” option. Step 25: Choose your timezone and next page assign a root password. Step 26: Clear the click of “Desktop Gnome” and click “Customize Now”. Step 27: Click “Development Libraries” and “Development Tools”, then click “Next”. Step 28: You can start installation by clicking “Next”. Step 29: After installation complete, reboot virtual machine.
Posted in Virtual Machine Manager | 1 Comment | 7,853 views | 24/05/2011 00:52
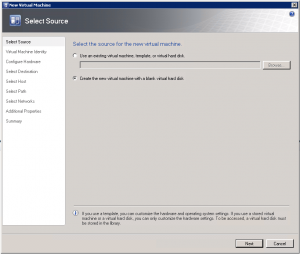
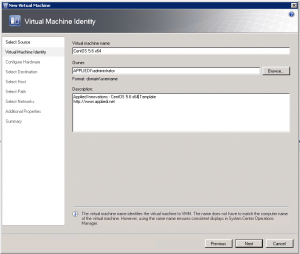
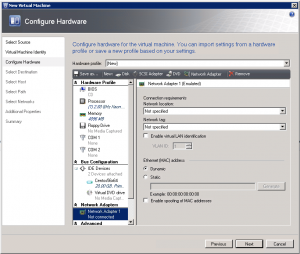
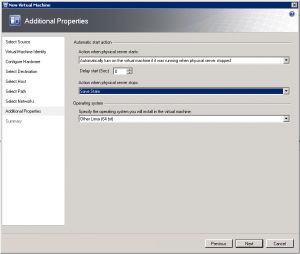
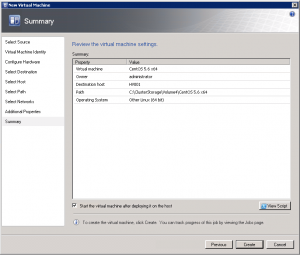
Hello there! Now it’s possible to use Linux VM templates on SCVMM 2008 R2 for quick deploys if you use “Set-LinuxVM”. We just need a clean Linux template for quick deploys. Lets start with creating our Linux VM. Go to SCVMM and click “New Virtual Machine”. Step 1: Choose “Create the new virtual machine with a blank virtual hard disk” and click “Next”. Step 2: Give a name and description for your Virtual Machine and click “Next”. Step 3: You should be careful about CPU, memory and network adapter. As an example, hardware profile should be: vCPU: 1
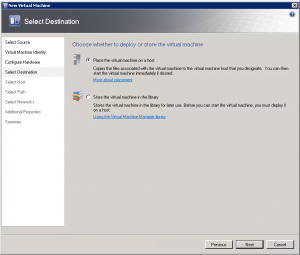
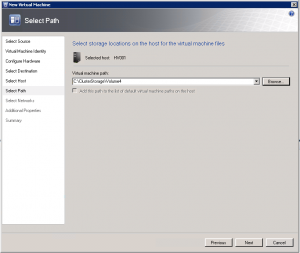
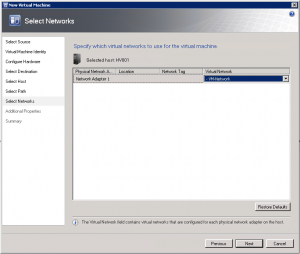
Memory: 4096 MB Disk: 20 GB Network: Emulated It’s very important to use 1 vCPU and emulated network adapter with your Linux VM template. I assign 4096 MB memory to virtual machine because usually I setup virtual machines with that memory value. If you usually setup VMs with 2048 MB memory, then give that! I assign 20 GB of disk space because I’ll split that into partitions for best performance. I’ll also use Logical Volume (LVM) to extend volumes with “Set-LinuxVM“. Step 4: Next screen, choose “Place the virtual machine on a host”. Step 5: Select a host and storage volume, then click “Next”. Step 6: Choose Virtual Network for VM and click “Next”. Step 7: Set additional properties and click “Next”. Step 8: Click “Create” and finish this proccess. After a minute, your VM will be up and ready for CentOS installation. |


