Categories

Sponsors

Archive
 Blogroll 
Badges


Community

|
Posted in Linux Server, Virtual Machine Manager | 6 Comments | 12,015 views | 17/07/2011 20:02
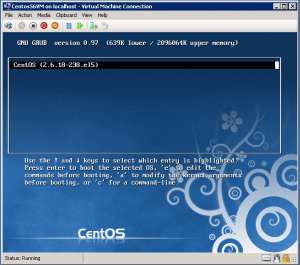
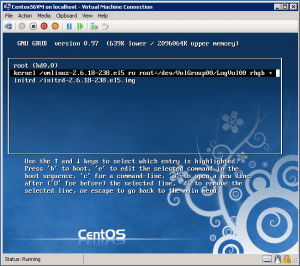
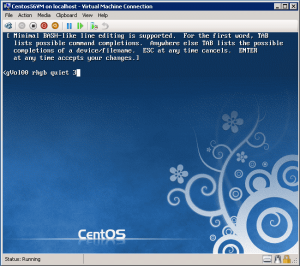
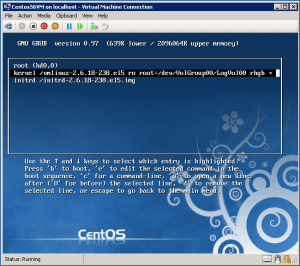
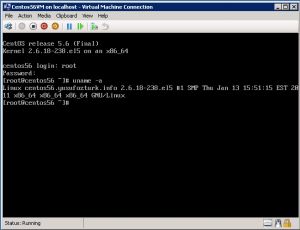
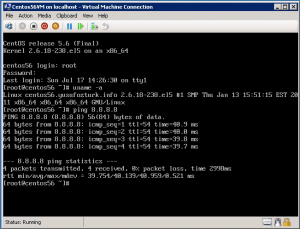
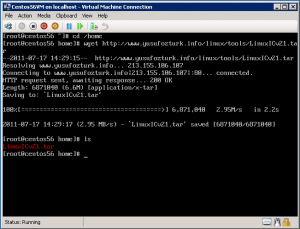
We finished CentOS installation on first part. I’ll show you how to install Hyper-V LIC and mouse support. Step 16: After installation reboot server and using keyboard, stay at GRUB menu. Press “e” to edit. Step 17: Select kernel and press “e” again to edit kernel arguments. Step 18: Go to end and type “3” to boot in multi user mode without graphical interface. Press “Enter” to save changes. Step 19: Select kernel again and press “b” button to boot from that kernel. Step 20: Login with root username and password. Type “uname -a” to see your kernel. Step 21: Try to ping an ip address to check your network connection. Step 22: Type the commands below to download integration components.
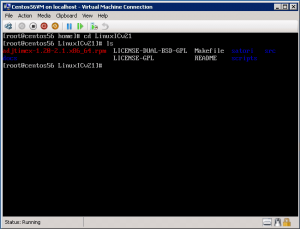
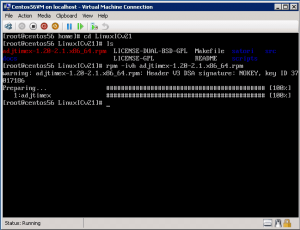
Step 23: After untar, go into “LinuxICv21” directory and check files.
Step 24: Install adjtimex for time source.
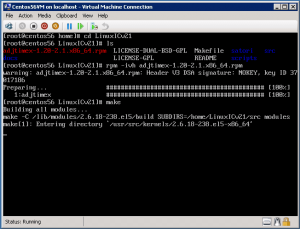
Step 25: After adjtimex installation, type “make”.
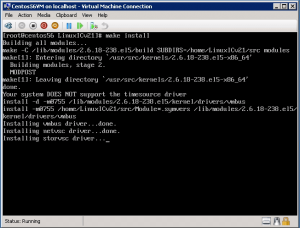
Step 26: Type “make install” to install Linux IC v21.
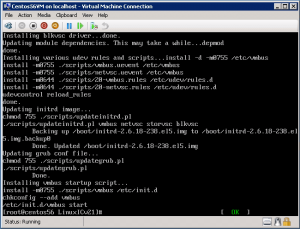
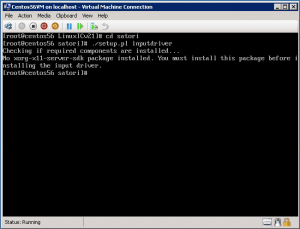
Step 27: After installation, you should be sure that VMBUS is started. Step 28: Install Satori for mouse support.
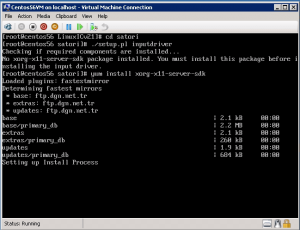
Step 29: If you don’t have “xorg-x11-server-sdk”, install it with yum install.
Step 30: Try to install Satori again after yum installation.
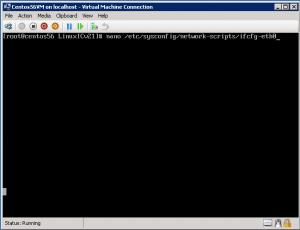
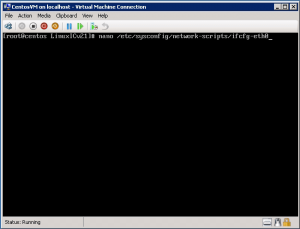
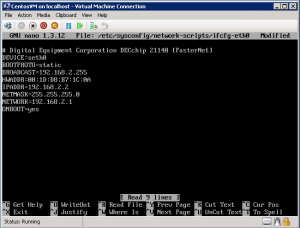
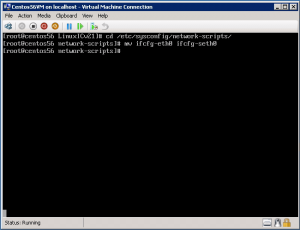
Step 31: Go to eth0 configuration and edit it.
Step 32: Change eth0 to seth0 for synthetic device support. Also note MAC address. Step 33: Change device config name as seth0.
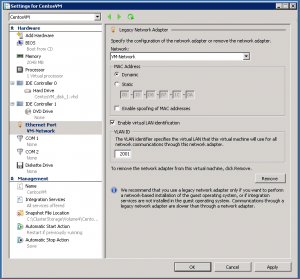
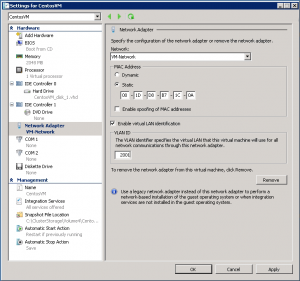
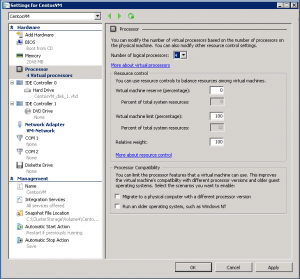
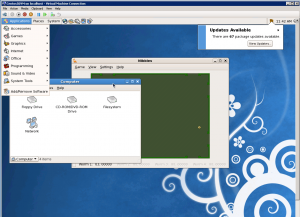
Step 34: Turn off VM and go to Network Adapter Settings. Remove emulated device. Step 35: Add a new synthetic network adapter with same MAC address and VlanID. But make MacID static. Step 36: You can also increase vCPU count. Step 37: Start your VM. Now mouse support and synthetic network device support is available in CentOS.
Posted in Linux Server, Virtual Machine Manager | 3 Comments | 12,632 views | 17/07/2011 19:55
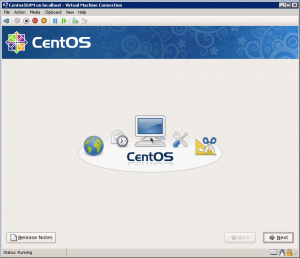
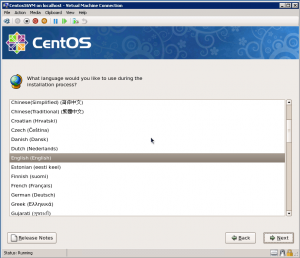
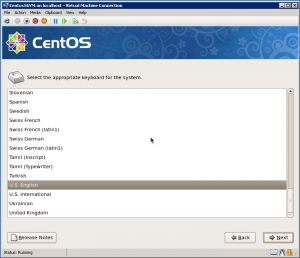
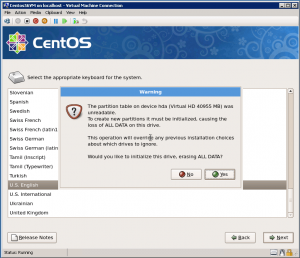
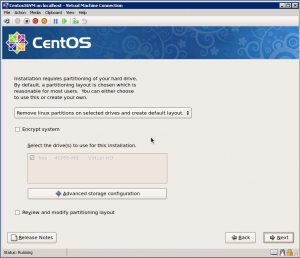
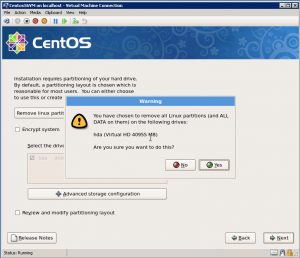
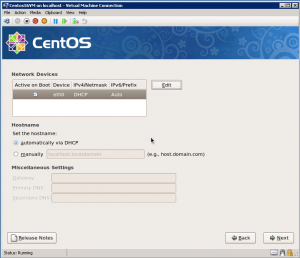
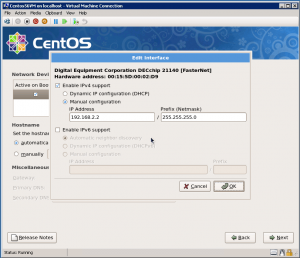
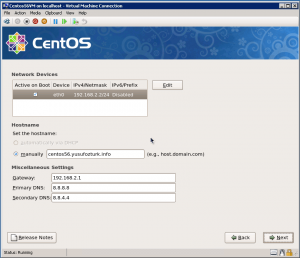
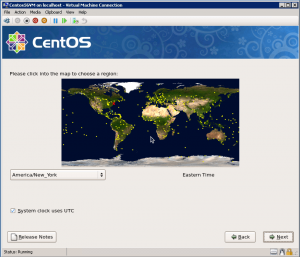
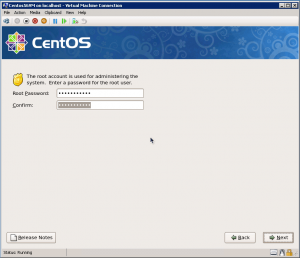
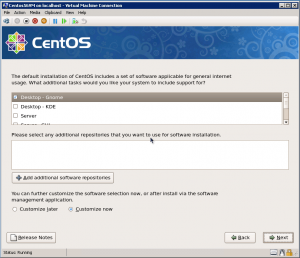
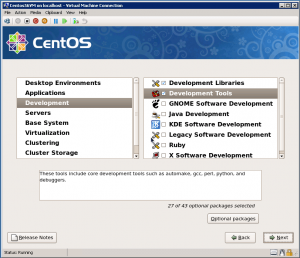
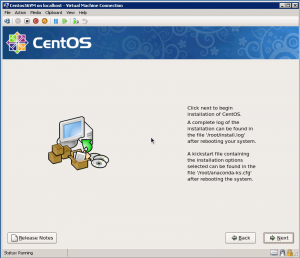
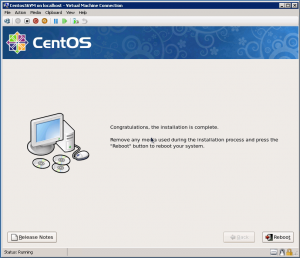
I want to show you how to install CentOS 5.6 Desktop on Hyper-V step by step with mouse support. Step 1: Start graphical CentOS installation and click next with space key on your keyboard. Step 2: Choose language of CentOS. Step 3: Select keyboard language. Step 4: Confirm re-initializing partition. Step 5: Select “Remove linux partitions and create default layout” and click next. Step 6: Click yes to confirm removing all data. Step 7: Click “Edit” button to configure IP address of the adapter. Step 8: Assign IP address and subnet mask for the network adapter. Step 9: Set hostname, gateway and dns addresses. Step 10: Choose your region. Step 11: Enter a password for VM. Step 12: Select “Customize Now” to install extra components. Step 13: Select “Development Tools” and “Development Libraries”. Step 14: Click next to start installation of CentOS. Step 15: If you see this screen, then you finished installation. You can continue reading on Part 2. |


