Categories

Sponsors

Archive
 Blogroll 
Badges

Community

|
Posted in Linux Server, Virtual Machine Manager | 3 Comments | 12,632 views | 17/07/2011 19:55
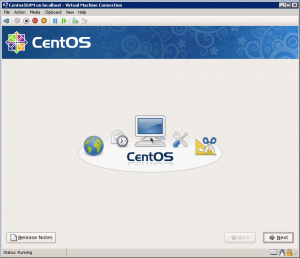
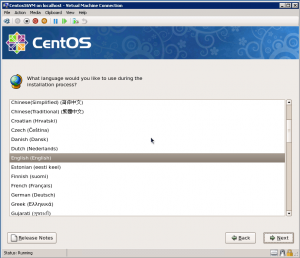
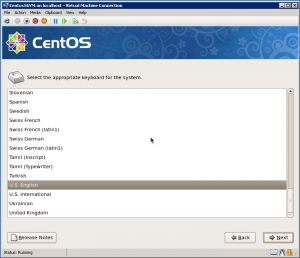
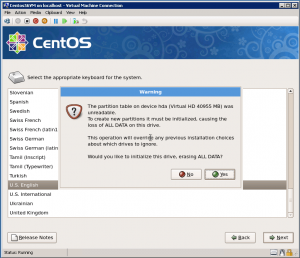
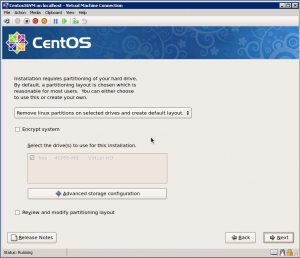
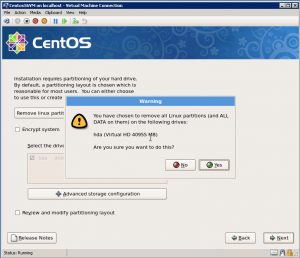
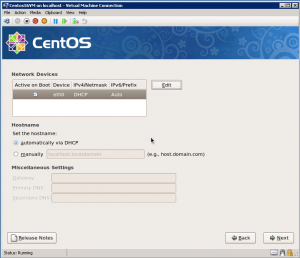
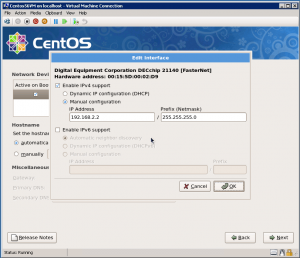
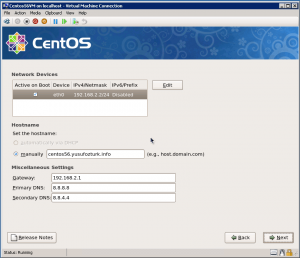
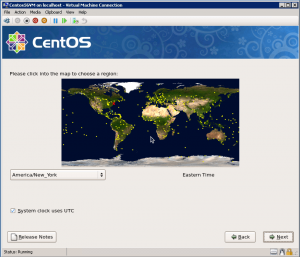
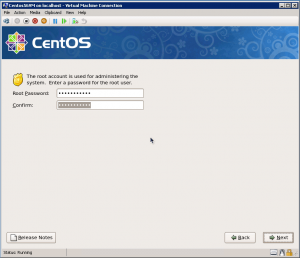
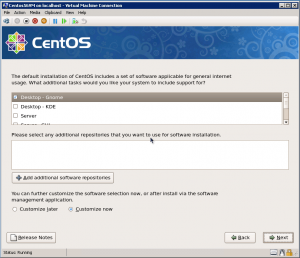
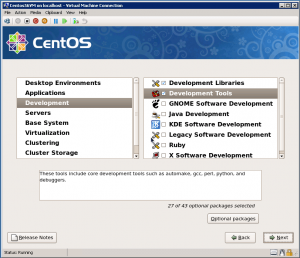
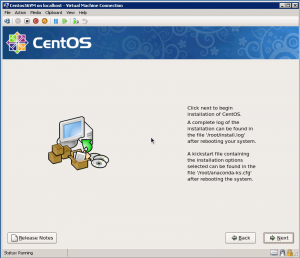
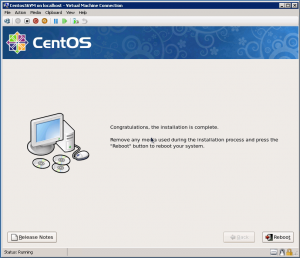
I want to show you how to install CentOS 5.6 Desktop on Hyper-V step by step with mouse support. Step 1: Start graphical CentOS installation and click next with space key on your keyboard. Step 2: Choose language of CentOS. Step 3: Select keyboard language. Step 4: Confirm re-initializing partition. Step 5: Select “Remove linux partitions and create default layout” and click next. Step 6: Click yes to confirm removing all data. Step 7: Click “Edit” button to configure IP address of the adapter. Step 8: Assign IP address and subnet mask for the network adapter. Step 9: Set hostname, gateway and dns addresses. Step 10: Choose your region. Step 11: Enter a password for VM. Step 12: Select “Customize Now” to install extra components. Step 13: Select “Development Tools” and “Development Libraries”. Step 14: Click next to start installation of CentOS. Step 15: If you see this screen, then you finished installation. You can continue reading on Part 2. |


