Categories

Sponsors


Archive
 Blogroll 
Badges


Community

|

Cacti installation on CentOS 6 on Hyper-V – Part 2
Posted in Linux Server, Virtual Machine Manager | 23 Comments | 29,531 views | 15/08/2011 01:23
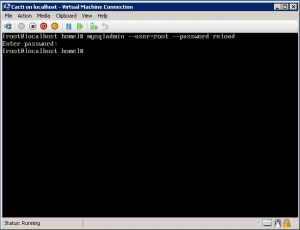
First part, we installed required components for Cacti. In this part, we’ll install and configure Cacti. After MySQL installation, first we should set MySQL root password.
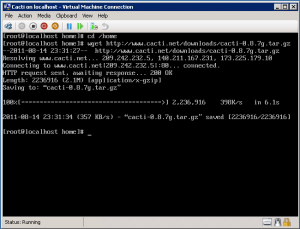
Let’s download latest Cacti release.
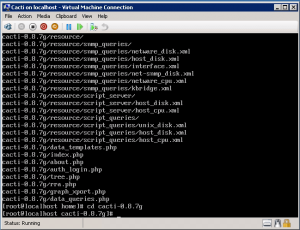
Untar tar ball.
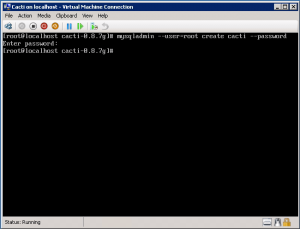
Create the MySQL database for Cacti. You have to type your root password to create database.
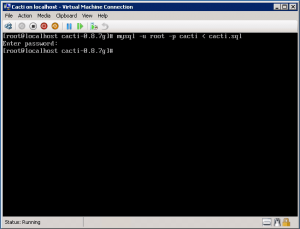
Import the default Cacti database.
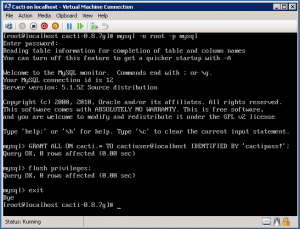
Create a MySQL username and password for Cacti for security reasons.
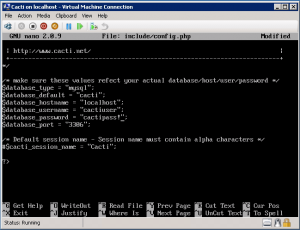
Edit “include/config.php” and specify the database type, name, host, user and password for your Cacti configuration.
$database_type = “mysql”;
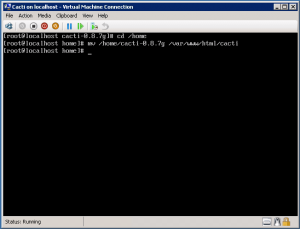
$database_default = “cacti”; $database_hostname = “localhost”; $database_username = “cactiuser”; $database_password = “cactipass!”; Move Cacti files into /var/www/html for web access.
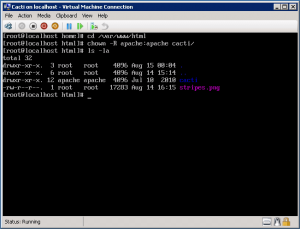
Go into Cacti directory and set the appropriate permissions for graph/log generation.
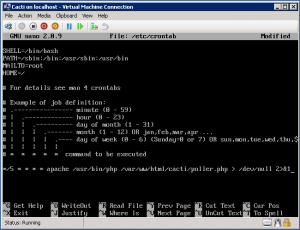
Add a line to your ”/etc/crontab” file.
*/5 * * * * cactiuser /usr/bin/php /var/www/html/cacti/poller.php > /dev/null 2>&1
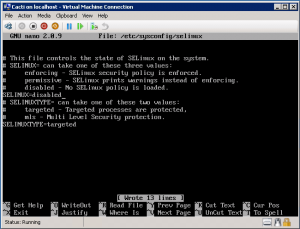
Disable SeLinux to web restrictions.
SELINUX=disabled
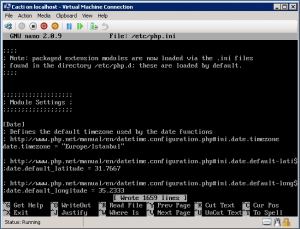
Reboot your server to apply changes. After reboot, go to php.ini configuration and change timezone.
date.timezone = “Europe/Istanbul”
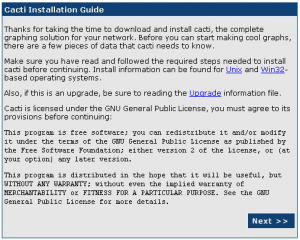
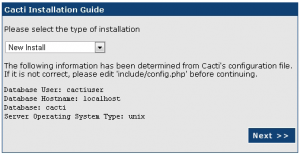
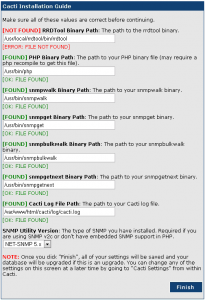
We finished Cacti installation. Now go to your web browser and connect to http://yourserverip/cacti. Choose “New Install” and click next. Correct RRDTool default path. RRDTool Binary Path: /usr/local/rrdtool/bin/rrdtool
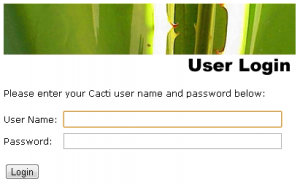
Now Cacti is online! You can login to Cacti with default username and password. After your first login, you should change password. username: admin
password: admin Now you can start adding your graphs :) 
Comments (23)

Leave a Reply
|


