Categories

Sponsors

Archive
 Blogroll 
Badges


Community

|
Posted in Linux Server, Virtual Machine Manager | 6 Comments | 11,579 views | 07/08/2011 21:54
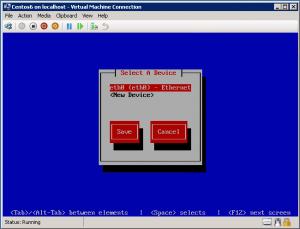
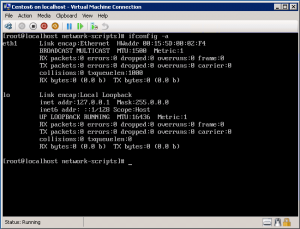
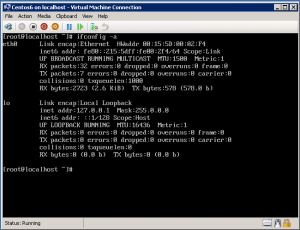
If you install Hyper-V Linux IS v3.1 on CentOS 6 and assign a new synthetic network card, network device name may change from eth0 to eth1. That’s not a good thing if you work with “Set-LinuxVM” because by default it works with eth0 (yes, you can consider this as a bug :)) Also I’m one of the guys who loves symmetry so I want to use eth0 instead of eth1, because my server has only one network adapter. So let’s look at the CentOS server. If you go to Setup and network devices, you’ll see eth0 as a device. I see eth0 in device menu but my server has no internet connection. Why? Let’s see current devices.
That’s the problem. Your pre-configured network device is eth0 but current device is changed as eth1. It’s also same problem when you don’t set Linux VM’s MAC as static in Hyper-V Clusters. When your Linux VM jumps over another Hyper-V node, it may get a new MAC id from MAC pool of the new Hyper-V node. If MAC changes, your device name also changes and your network connection dies. Actually you can change eth0 config as an eth1 to fix your network connection. Just you need to do:
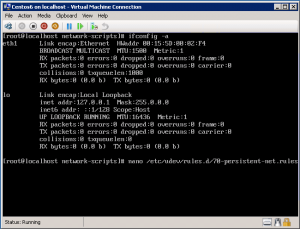
Also you need to edit ifcfg-eth1 file to change device name. But we want to use eth0 name instead of eth1. So let’s go to CentOS 6 net rules:
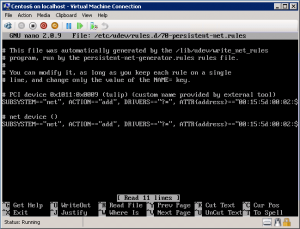
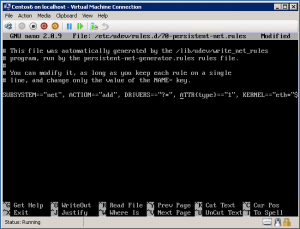
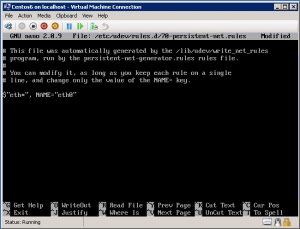
You will see two network devices in 70-persistent-net.rules. Just leave the first one and remove ATTR{address}==”xx:xx:xx:xx:xx:xx″ from device. Also at the end of the line, you will see the device name. That should be “eth0”. Save the changes and reboot your VM. Let’s check device name again.
Now you can use eth0 in your CentOS 6 VM. Nice job!
Posted in Linux Server, Virtual Machine Manager | No Comment | 4,417 views | 28/07/2011 01:04
Microsoft, Hyper-V için Linux Integration Services v3.1 yayınladı. Özellikler:
Hala bulunmayan özellikler:
Desteklenen işletim sistemleri:
Download: Kurulum dökümanını dosyanın içerisinde bulabilirsiniz.
Posted in Linux Server, Virtual Machine Manager, Windows Powershell | No Comment | 3,866 views | 27/07/2011 13:59
Yeni Hyper-V Linux Integration Service v3.1 ile birlikte gelen KVP Exchange desteği sayesinde bir çok bilgiyi çekebilmeniz mümkün. Öncelikle yapmanız gereken Get-HyperVKVP dosyasını indirmek ve bir Hyper-V sunucusunun üzerine kurmak olacaktır. Download: Scripti Hyper-V sunucusu üzerinde aşağıdaki gibi çalıştırabilirsiniz.
Hyper-V üzerindeki CentOS 6 için örnek bir script çıktısı: PS C:\> .\Get-HyperVKVP.ps1 Centos6
FullyQualifiedDomainName: centos6.yusufozturk.info Get-HyperVKVP.ps1 dosyasının kaynak kodu:
Bilgileri WMI üzerinden çektiği için bu scripti SCVMM üzerinde kullanamazsınız.
Posted in Linux Server, Virtual Machine Manager | 1 Comment | 9,225 views | 27/07/2011 13:28
Bu makalede size CentOS 6 üzerinde nasıl Hyper-V Linux Integration Services v3.1 kurabileceğinizi gösteceğim. Adım 1: Hyper-V LIC v3.1 indirebilmek için aşağıdaki komutları uygulayın.
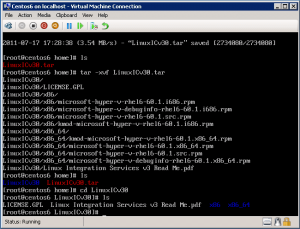
Adım 2: untar işlemi sonrası “LinuxICv31″ klasörüne gidin ve dosyaları kontrol edin.
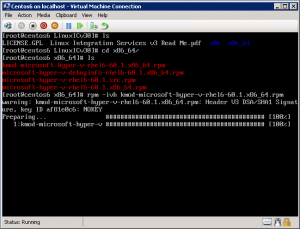
Adım 3: CentOS üzerinde “kmod-microsoft-hyper-v-rhel6-60.1.x86_64.rpm” kurulumunu yapın.
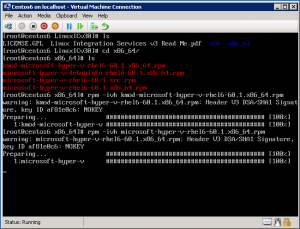
Adım 4: CentOS üzerinde “microsoft-hyper-v-rhel6-60.1.x86_64.rpm” kurulumunu yapın.
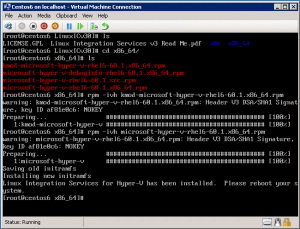
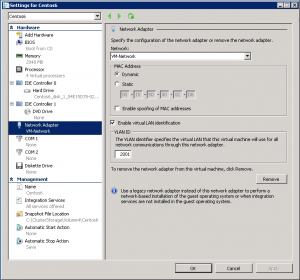
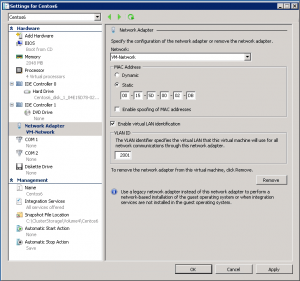
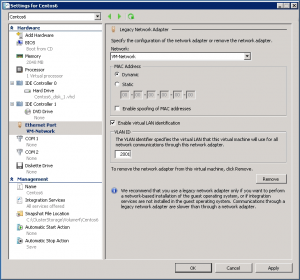
Adım 5: Eğer kurulum başarılıysa, aşağıdaki bilgi mesajını görmeniz gerekiyor. Adım 6: Sanal sunucunuzu kapatıp, emulated network adaptörünü kaldırın ve yerine sentetik network adaptörü ekleyin. Adım 7: Eski MAC adresinin aynısını yeni network adaptörüne ekleyin ve statik olarak ayarlayın. Adım 8: Sanal sunucunuzu başlatabilirsiniz.
Posted in Linux Server, Virtual Machine Manager | 15 Comments | 24,520 views | 27/07/2011 12:29
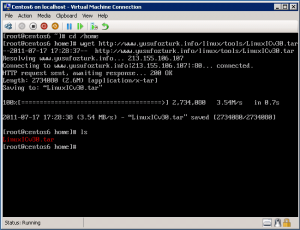
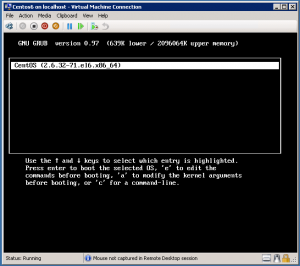
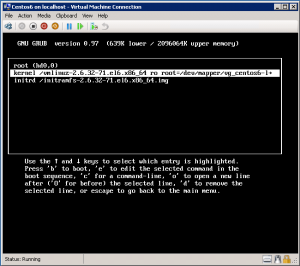
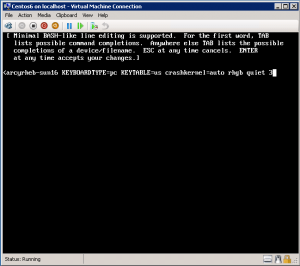
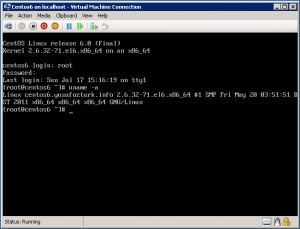
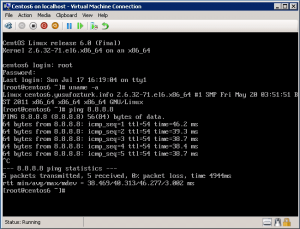
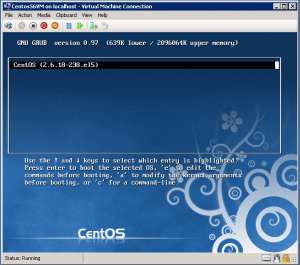
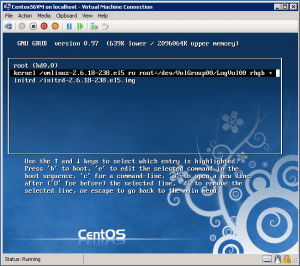
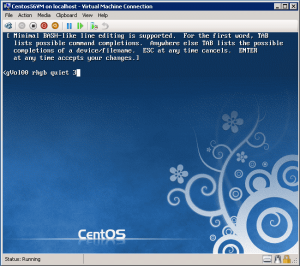
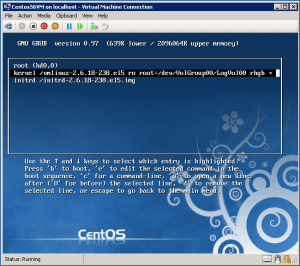
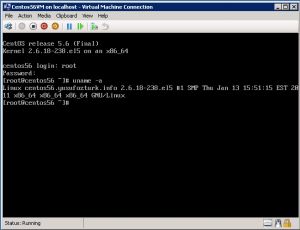
We finished CentOS installation on first part. I’ll show you how to install Hyper-V LIC and mouse support. Step 19: After installation reboot server and using keyboard, stay at GRUB menu. Press “e” to edit. Step 20: Select kernel and press “e” again to edit kernel arguments. Step 21: Go to end and type “3″ to boot in multi user mode without graphical interface. Press “Enter” to save changes. Step 22: Select kernel again and press “b” button to boot from that kernel. Step 23: Login with root username and password. Type “uname -a” to see your kernel. Step 24: Try to ping an ip address to check your network connection. Step 25: Type the commands below to download integration components.
Step 26: After untar, go into “LinuxICv31″ directory and check files.
Step 27: Install “kmod-microsoft-hyper-v-rhel6-60.1.x86_64.rpm” on CentOS.
Step 28: Install “microsoft-hyper-v-rhel6-60.1.x86_64.rpm” on CentOS.
Step 29: If installation is successful, then you should see this message. Step 30: After LIC installation turn off your VM. Step 31: Remove emulated network adapter. Add new synthetic network adapter. Step 32: Set same MAC address but configure it as static. Step 33: You can use CentOS 6 Desktop with mouse support. PS: Mouse support is only available with Hyper-V LIC v3.2 at the moment.
Posted in Linux Server, Virtual Machine Manager | 10 Comments | 17,379 views | 27/07/2011 10:18
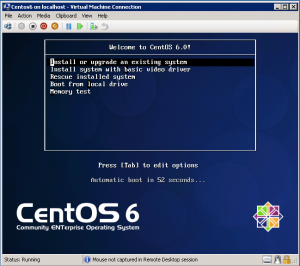
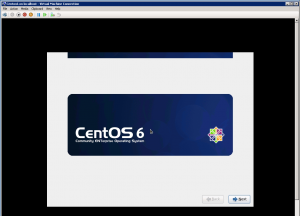
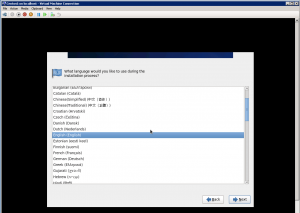
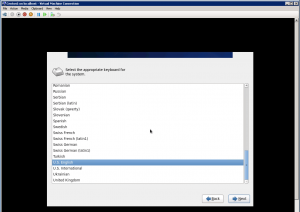
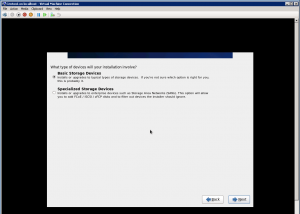
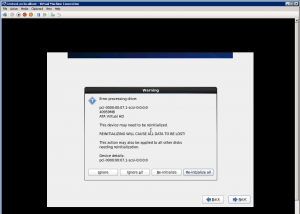
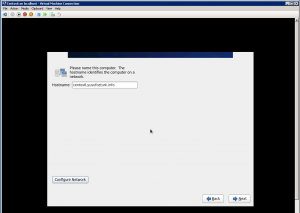
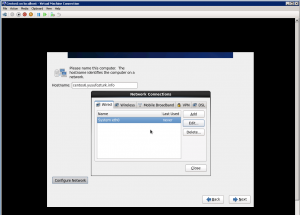
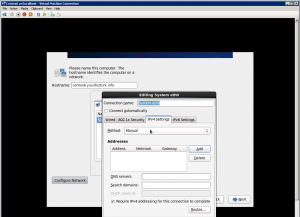
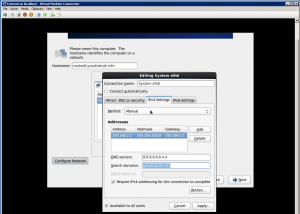
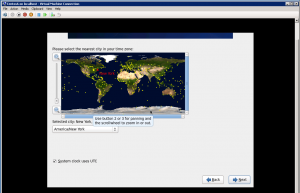
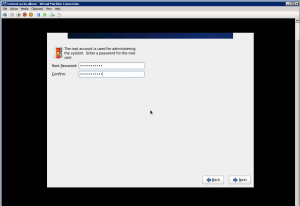
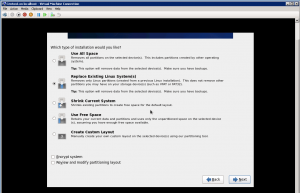
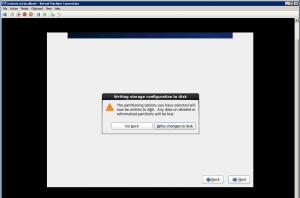
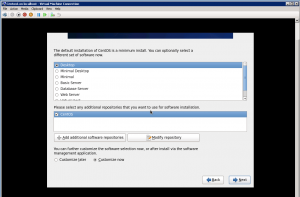
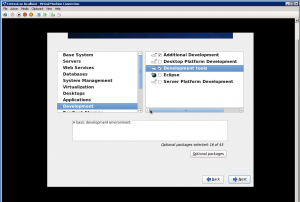
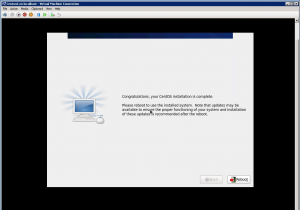
Size bu makalede Hyper-V üzerinde adım adım nasıl CentOS 6 Desktop sürümünü kurabileceğinizi göstereceğim. Adım 1: Hyper-V üzerinde emulated network adaptörü ve 1 vCPU ile bir VM yaratın. Adım 2: Grafiksel CentOS kurulumunu başlatabilmek için ilk seçeneği seçin. Adım 3: “Next” ile hoşgeldin sayfasını geçin. Adım 4: Kullanmak istediğiniz CentOS dilini seçin. Adım 5: Klavye dilini seçin. Adım 6: “Basic Storage Devices” seçeneğini seçin ve Next’e tıklayın. Adım 7: Partition re-initializing için onay verin. Adım 8: Bir hostname yazıp, adaptör üzerindeki IP adresini düzenleyebilmek için “Edit” butonuna basın. Adım 9: Seçili network adaptörünü düzenlemek için tekrar “edit” butonuna basın. Adım 10: “IPv4 Settings” seçeneğine gidin ve method için “Manual” seçip “Add” butonuna tıklayın. Adım 11: Network ayarlarını konfigure edin. Adım 12: Bölgenizi seçin. Adım 13: VM için bir parola belirleyin. Adım 14: “Replace Existing Linux Systems” seçeneğini seçin ve “next” butonuna tıklayın. Adım 15: Değişiklikleri disk üzerine yazmayı onaylayın. Adım 16: “Desktop” opsiyonunu seçip, “Customize now” seçeneğini seçin. Adım 17: Yüklenmesi için “Additional development” ve “Development Tools” bileşenlerini seçin. Adım 18: Eğer bu ekranı görüyorsanız, kurulumu tamamladınız demektir. Part 2 üzerinden kuruluma devam edebilirsiniz. Not available yet!
Posted in Linux Server, Virtual Machine Manager | 6 Comments | 12,017 views | 17/07/2011 20:02
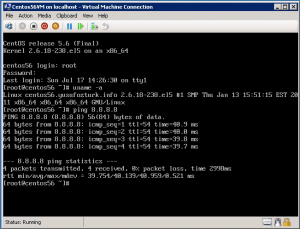
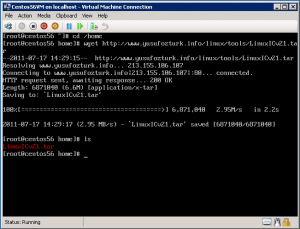
We finished CentOS installation on first part. I’ll show you how to install Hyper-V LIC and mouse support. Step 16: After installation reboot server and using keyboard, stay at GRUB menu. Press “e” to edit. Step 17: Select kernel and press “e” again to edit kernel arguments. Step 18: Go to end and type “3” to boot in multi user mode without graphical interface. Press “Enter” to save changes. Step 19: Select kernel again and press “b” button to boot from that kernel. Step 20: Login with root username and password. Type “uname -a” to see your kernel. Step 21: Try to ping an ip address to check your network connection. Step 22: Type the commands below to download integration components.
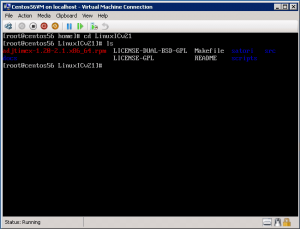
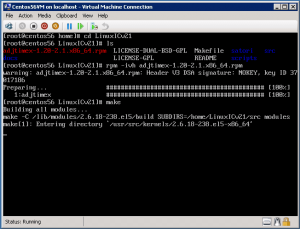
Step 23: After untar, go into “LinuxICv21” directory and check files.
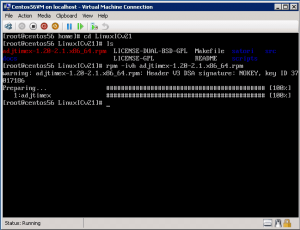
Step 24: Install adjtimex for time source.
Step 25: After adjtimex installation, type “make”.
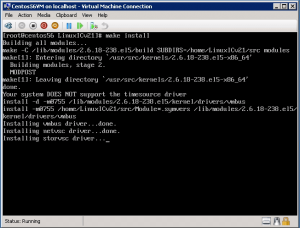
Step 26: Type “make install” to install Linux IC v21.
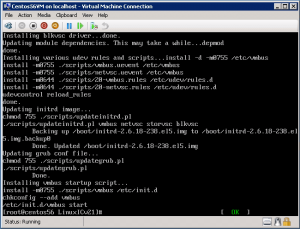
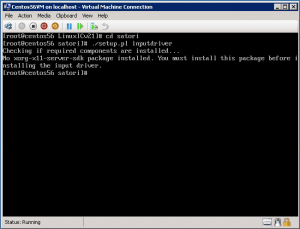
Step 27: After installation, you should be sure that VMBUS is started. Step 28: Install Satori for mouse support.
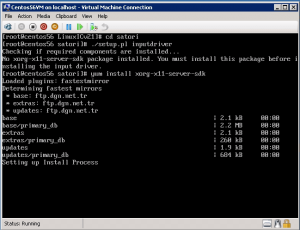
Step 29: If you don’t have “xorg-x11-server-sdk”, install it with yum install.
Step 30: Try to install Satori again after yum installation.
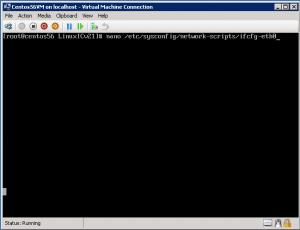
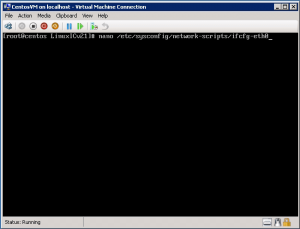
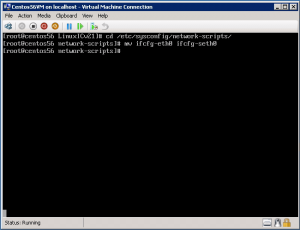
Step 31: Go to eth0 configuration and edit it.
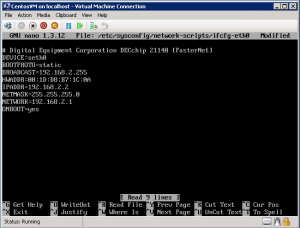
Step 32: Change eth0 to seth0 for synthetic device support. Also note MAC address. Step 33: Change device config name as seth0.
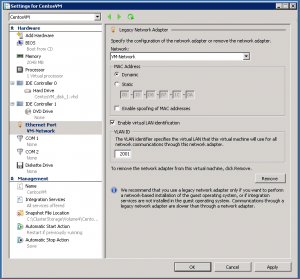
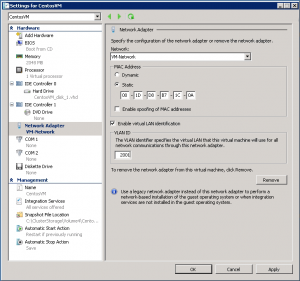
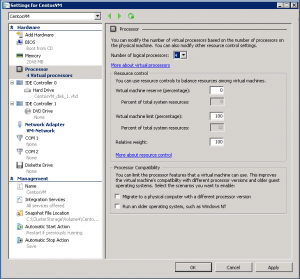
Step 34: Turn off VM and go to Network Adapter Settings. Remove emulated device. Step 35: Add a new synthetic network adapter with same MAC address and VlanID. But make MacID static. Step 36: You can also increase vCPU count. Step 37: Start your VM. Now mouse support and synthetic network device support is available in CentOS. |


