Categories

Sponsors

Archive
 Blogroll 
Badges


Community

|
Posted in Virtual Machine Manager, Windows Server | No Comment | 6,882 views | 29/11/2011 23:11
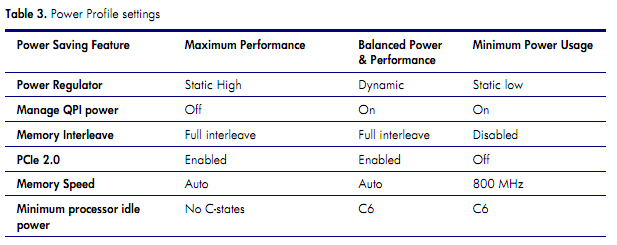
If you have a Hyper-V cluster in a HP Server farm then you may face with low live migration performance. We realized that HP 300 series G6 and G7 servers shipping with energy saving mode. Let’s check that from HP website. In the ProLiant 300-series G6 and G7 RBSU, the HP Power Profile defines three possible configurations of some of the power features identified earlier in this section. The HP Power Profile provides a simple mechanism for users to configure the power management options of their system based on their tolerance to power versus performance without having to individually configure each option. There are three possible settings for the HP Power Profile: Maximum Performance; Balanced Power and Performance; and Minimum Power Usage. An additional Custom setting is simply any combination of user settings that do not match the pre-sets for the three categories listed below. If you want to increase performance of live migration process, you need to disable c-states from BIOS. C-States has a huge impact on live migration. Since HP comes with Balanced Power and Performance mode, it also activates C6 state on BIOS. That’s reason of the issue. So changing HP Power Profile to “Maximum Performance“, you disable C-States from BIOS and get maximum performance from Live migration. As you see our servers can utilize 99% of bandwidth. So it’s not a good thing to use “Balanced Power and Performance” on Virtualization. Get away from it :)
Posted in Virtual Machine Manager, Windows Powershell | No Comment | 7,672 views | 29/11/2011 22:54
You may get this error when you try to start maintenance mode on a Hyper-V host. Error (10434)
No suitable host is available for migrating the existing highly available virtual machines. Recommended Action SCVMM can not live migrate virtual machines if a shared ISO file is attached. So that can pause maintenance mode if you choose live migration mode.
If you’re looking for a specific Hyper-V host called Host01:
Deattach shared ISO files from VMs and start maintenance mode again.
Posted in Virtual Machine Manager, Windows Powershell | 4 Comments | 11,033 views | 14/11/2011 11:18
You may get this error when you try to refresh virtual machine. Error (12711)
VMM cannot complete the WMI operation on server node01.yusufozturk.info because of error: [MSCluster_Resource.Name=”69598e3a-3567-4b40-b7d9-dd08ed1169df”] The cluster resource could not be found. (The cluster resource could not be found (0x138F)) Recommended Action You should refresh cluster configuration to fix this issue. Go to one of the Cluster nodes.
After that, you can refresh Cluster and VM from SCVMM console. That should fix the issue.
Posted in Linux Server, Virtual Machine Manager | 12 Comments | 35,751 views | 08/10/2011 12:23
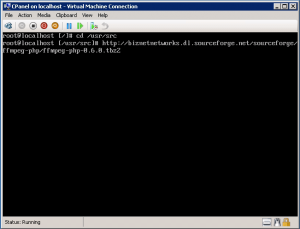
Before installing FFmpeg-PHP, you need to install FFmpeg, MPlayer and MEncoder for video processing. Because I have CPanel on my CentOS, I won’t install Apache, MySQL or PHP. I’m just going with FFmpeg-PHP installation. So I assume you did previous installations. Now let’s go with FFmpeg-PHP installation. 1. Download ffmpeg-php in to /usr/src directory.
Posted in Linux Server, Virtual Machine Manager | 8 Comments | 21,619 views | 03/10/2011 13:52
You need FFmpeg, MPlayer and MEncoder for video processing. I’ll show you how to install and configure it on Hyper-V. You can see CentOS 6 installation on Hyper-V at the following posts: http://www.yusufozturk.info/linux-server/centos-6-desktop-installation-on-hyper-v-and-mouse-support-part1.html
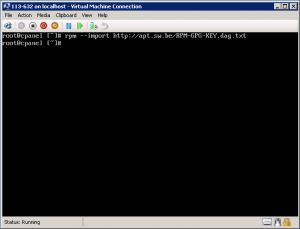
http://www.yusufozturk.info/linux-server/centos-6-desktop-installation-on-hyper-v-and-mouse-support-part2.html So I assume you have a CentOS 6 with Hyper-V LIS v3.1. So lets continue with our installation. 1. Install the DAG GPG key.
Posted in Linux Server, Virtual Machine Manager | 23 Comments | 29,531 views | 15/08/2011 01:23
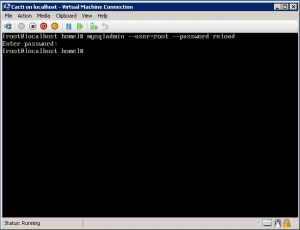
First part, we installed required components for Cacti. In this part, we’ll install and configure Cacti. After MySQL installation, first we should set MySQL root password.
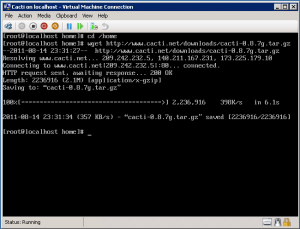
Let’s download latest Cacti release.
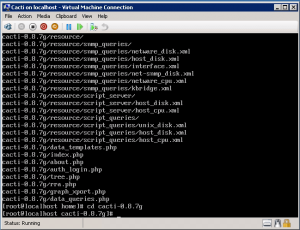
Untar tar ball.
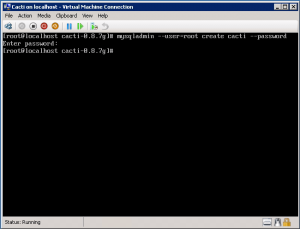
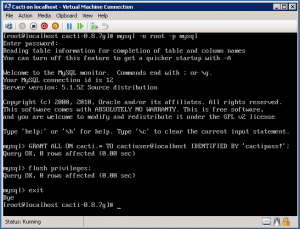
Create the MySQL database for Cacti. You have to type your root password to create database.
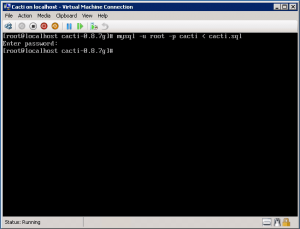
Import the default Cacti database.
Create a MySQL username and password for Cacti for security reasons.
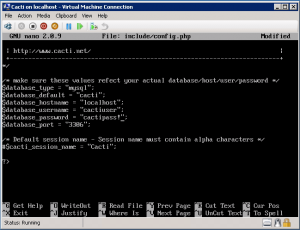
Edit “include/config.php” and specify the database type, name, host, user and password for your Cacti configuration.
$database_type = “mysql”;
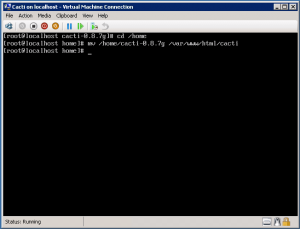
$database_default = “cacti”; $database_hostname = “localhost”; $database_username = “cactiuser”; $database_password = “cactipass!”; Move Cacti files into /var/www/html for web access.
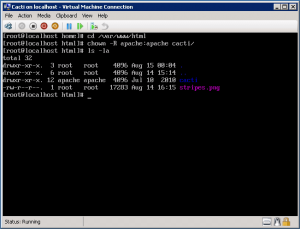
Go into Cacti directory and set the appropriate permissions for graph/log generation.
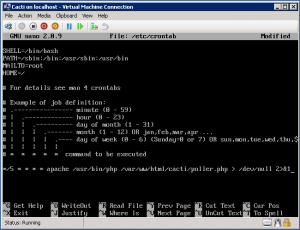
Add a line to your ”/etc/crontab” file.
*/5 * * * * cactiuser /usr/bin/php /var/www/html/cacti/poller.php > /dev/null 2>&1
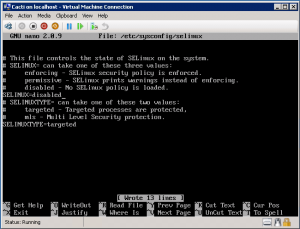
Disable SeLinux to web restrictions.
SELINUX=disabled
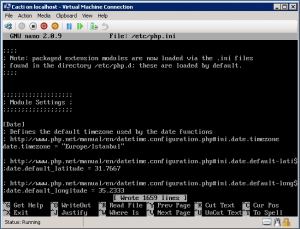
Reboot your server to apply changes. After reboot, go to php.ini configuration and change timezone.
date.timezone = “Europe/Istanbul”
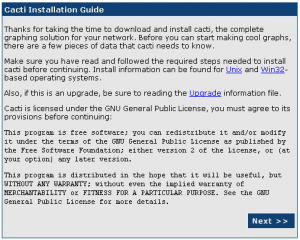
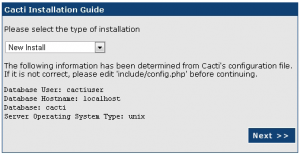
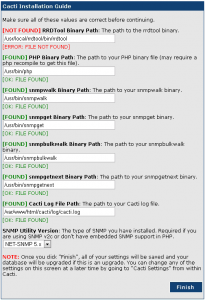
We finished Cacti installation. Now go to your web browser and connect to http://yourserverip/cacti. Choose “New Install” and click next. Correct RRDTool default path. RRDTool Binary Path: /usr/local/rrdtool/bin/rrdtool
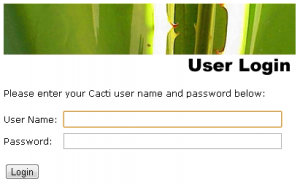
Now Cacti is online! You can login to Cacti with default username and password. After your first login, you should change password. username: admin
password: admin Now you can start adding your graphs :)
Posted in Linux Server, Virtual Machine Manager | 14 Comments | 30,652 views | 14/08/2011 16:22
Cacti is one of the best snmp based monitoring software. I’ll show you how to install and configure it on Hyper-V. You can see CentOS 6 installation on Hyper-V at the following posts: http://www.yusufozturk.info/linux-server/centos-6-desktop-installation-on-hyper-v-and-mouse-support-part1.html
http://www.yusufozturk.info/linux-server/centos-6-desktop-installation-on-hyper-v-and-mouse-support-part2.html So I assume you have a CentOS 6 with Hyper-V LIS v3.1. So lets continue with Cacti installation.
1. Apache
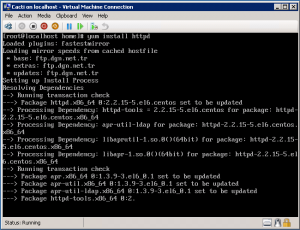
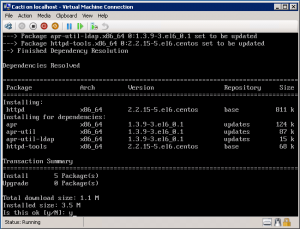
2. PHP 5.x 3. MySQL 5.x 4. RRDTool 1.2.x It’s time to install Apache on CentOS 6.
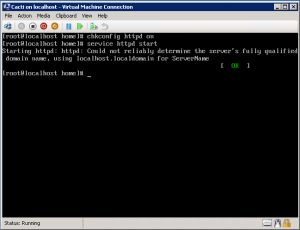
Type “y” and press Enter to accept installation. Now, start the Apache/httpd.
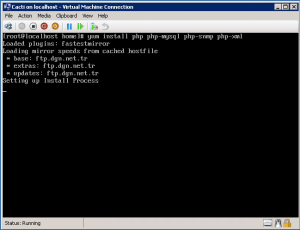
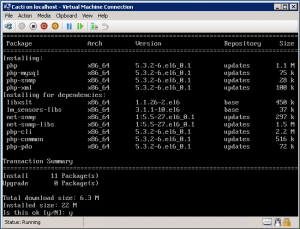
Now let’s install PHP.
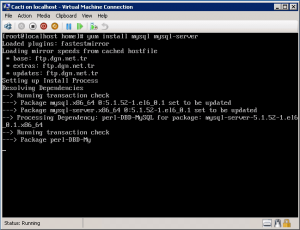
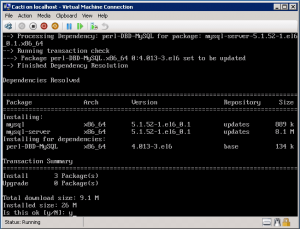
Type “y” and press Enter to accept installation. Now we will install MySQL.
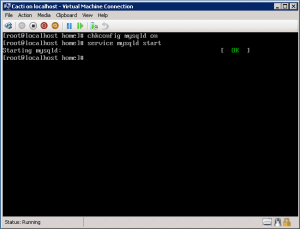
Type “y” and press Enter to accept installation. Now, start the MySQL/mysqld.
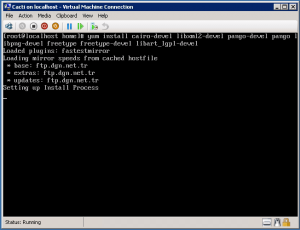
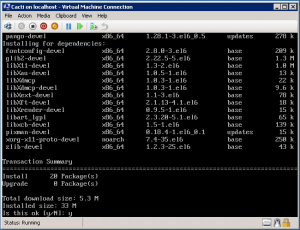
It’s time to install last component, RRDTools. First, we need to install required dependencies.
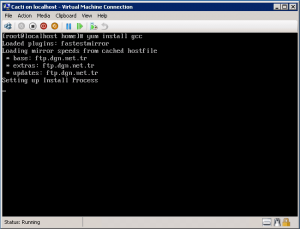
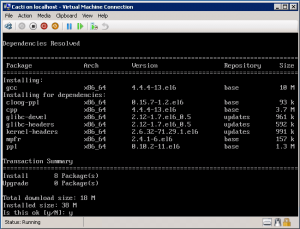
Type “y” and press Enter to accept installation. Install gcc to compile RRDTool.
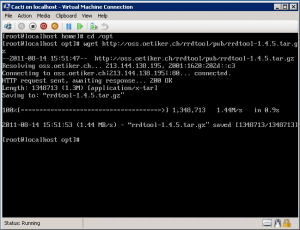
Type “y” and press Enter to accept installation. Download latest RRDTool.
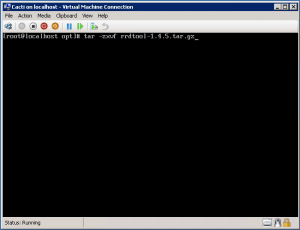
Untar tar ball.
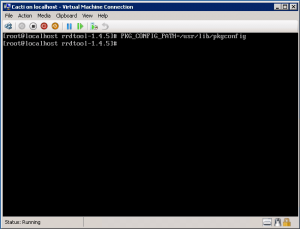
You need to set PKG_CONFIG_PATH.
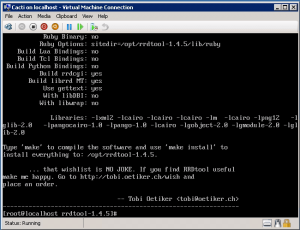
Now let’s configure and install RRDTool.
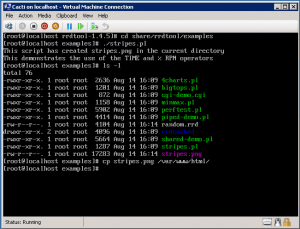
After installation is completed, let’s test RRDTool.
Lets see our test graph: We finished installation of required components for Cacti. Next part, we will see how to install and configure Cacti. You can continue with Part 2: |


